
How to Sculpt 3D Models for Products: When Sculpting Helps, and When It Wrecks Your Mesh
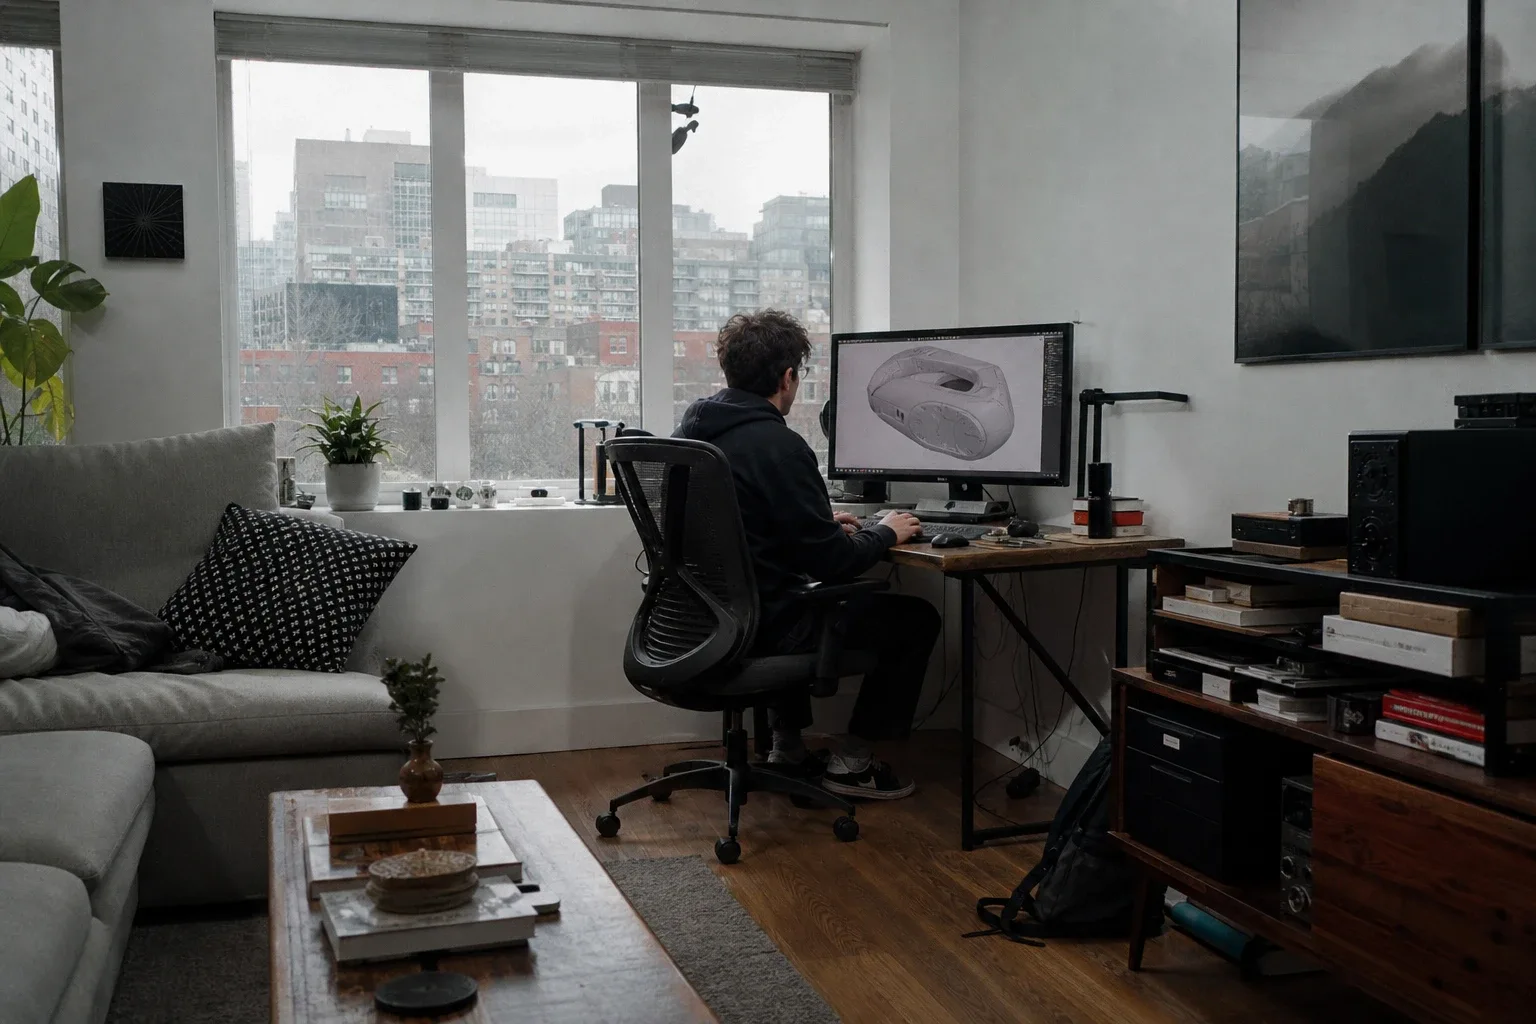
A product designer at a luggage brand opened ZBrush for the first time on a Monday morning with a clean CAD base of a carry-on shell and a clear goal: give the fabric panels some life. Knowing how to sculpt 3D models is only half the skill, knowing when to sculpt, and when to stop, is what keeps your production pipeline sane and your web files under a size that a phone can handle.
By the end of the week, she had a file with an enormous polygon count, a normal map she didn't know how to bake, and a model that locked up every browser she tested it in. The CAD base was fine. The sculpting wasn't wrong. The problem was that nobody had told her where sculpting stops being useful.
Does this product part actually need sculpting?
Here is the test: is the surface organic or is it dimensioned?
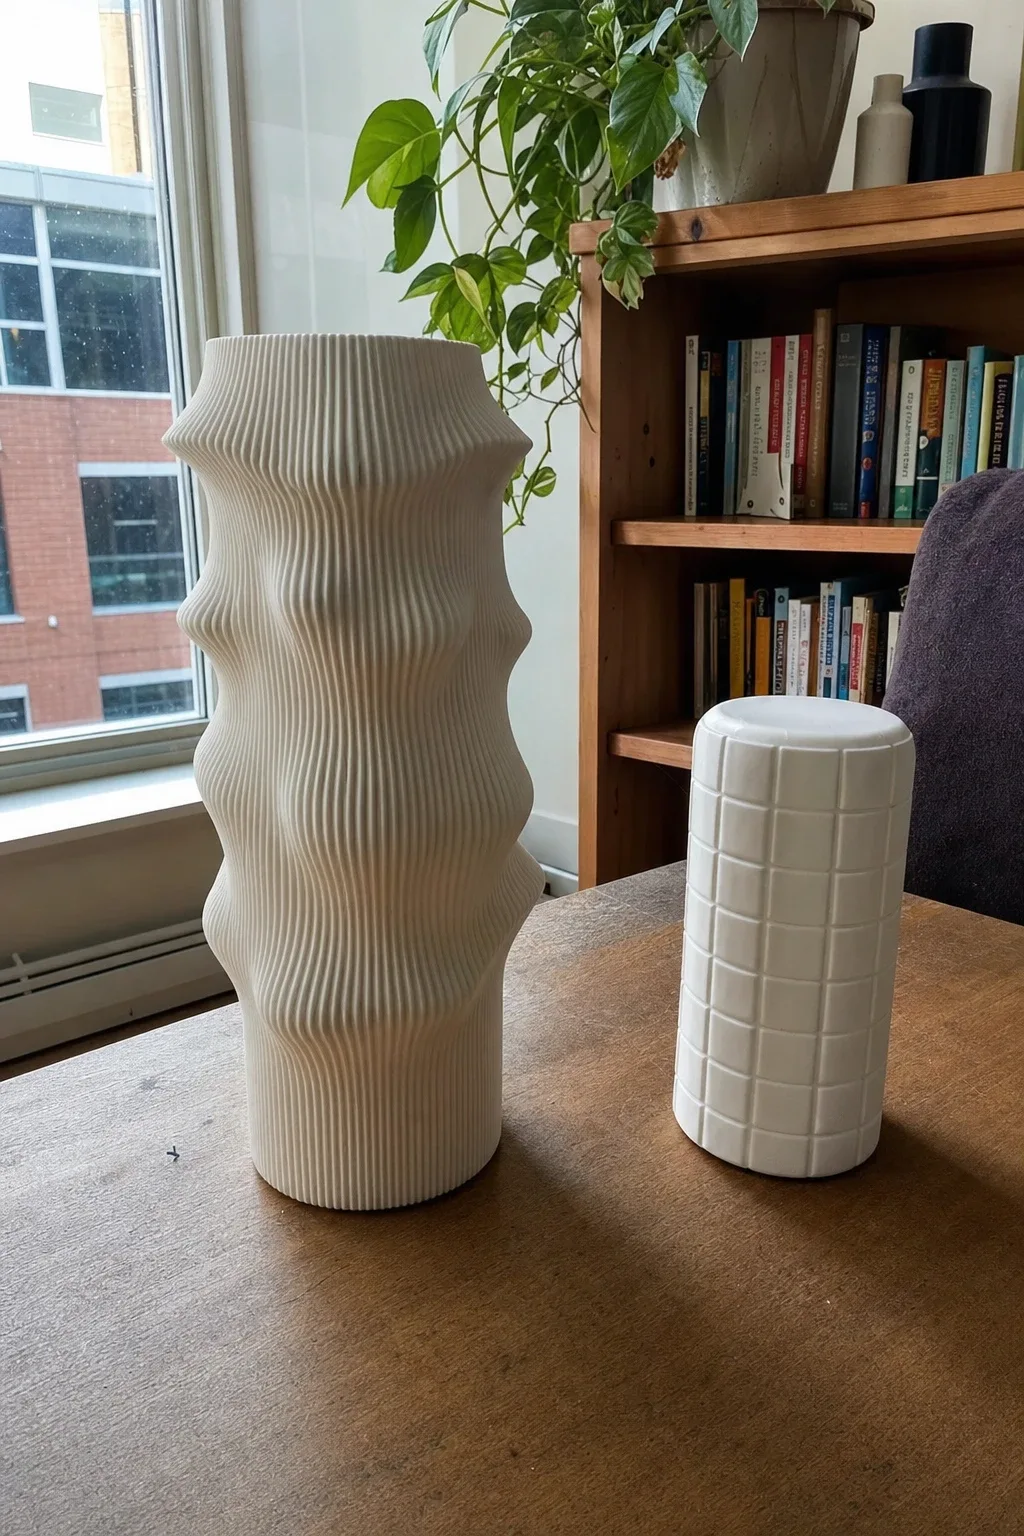
Organic surfaces change shape under pressure, drape, or use. A sofa cushion sags where someone sits. A leather bag creases at the handle. A moulded plastic shell has subtle compound curves a CAD spline can approximate but never quite capture. These surfaces benefit from sculpting because their character lives in irregularity, and a skilled modeller can create that kind of complexity far faster and more convincingly than any parametric tool can.
Dimensioned surfaces don't change. A door panel is flat or follows a precise radius. A sanitaryware basin has tolerances measured in millimetres. A machine enclosure has draft angles specified in an engineering drawing. Sculpting these parts introduces inaccuracy, adds unneeded geometry, and gives you a mesh that is harder to retopologise cleanly. CAD or hard-surface polygon modelling handles them better, faster, and with dimensions you can actually verify.
The practical split for most furniture and luggage brands: sculpt the upholstery, the foam, the leather, the fabric. Leave the frame, the hardware, the shell, and the structural components exactly where they started, in CAD.
If you're new to the broader process, getting started with 3D modelling for your product line covers the foundations before you reach this stage.
What to have ready before you open the sculpting app
Starting without these in place costs you hours of backtracking.
Reference photos. At least four angles of the real product: front, side, three-quarter, and a close-up of the surface texture. If you're sculpting a cushion, photograph it under raking light so the folds are visible.
Real dimensions. Your sculpt needs to match the physical product. Import your CAD base or build a blocking mesh from the actual measurements. A cushion that is 600mm wide in the real world should be 600mm wide in your scene.
A clean base mesh. Sculpting tools work best when they start from an even, low-polygon base rather than raw CAD geometry (which often has triangulated faces and tolerance-driven edge loops that fight the sculpting brushes). Remesh or rebuild the surfaces you plan to sculpt before you start.
Your sculpting tool and your polygon target. Blender's sculpt mode, ZBrush, and Nomad Sculpt all work. What matters more than the tool is agreeing on a polygon ceiling before you begin. For a cushion that will live on a web product page, your sculpted mesh should not exceed a few hundred thousand polygons before baking. Set that number, write it down, and treat it as a hard stop.
Block out, refine, add detail, then stop
1. Set your scale. Confirm units match your CAD source. A 600mm cushion should read as 600mm in your sculpting app. Scale errors compound at every later stage.
2. Block the major forms with large brushes. Use Clay or Inflate at low intensity to push the general shape of the fold or sag. At this stage you are working on the whole form, not individual wrinkles. Resist the urge to zoom in.
3. Switch to dynamic topology or multires and refine secondary forms. Add the fold lines, the compression at the seam, the slight puff where foam pushes against fabric. Still working at a medium zoom.
4. Add fine surface texture last. Fabric weave, leather grain, and stitch impressions go on at the end, at high subdivision, using an alpha brush or a noise texture. This detail will be baked into a normal map and will not live in the final mesh, so it only needs to look right from a typical viewing distance.
5. Stop. The stopping rule: if you can't see the detail at arm's length on a 13-inch screen, it does not need to be in the sculpt. Fine grain at the level of individual fibres is invisible in a product viewer and costs you megabytes you cannot get back.
Retopologise and bake so the sculpt can ship
A detailed sculpt may contain enough geometry to represent tiny surface forms, but it is not organised in the most useful way for real-time production. Vfs That means your high-poly sculpt cannot go directly into a web or AR viewer. It needs two more steps.
Retopology is the process of drawing a new, low-polygon mesh over the surface of the sculpt. This new mesh has clean edge loops, predictable polygon counts, and faces that follow the direction of the forms rather than the direction the sculpting algorithm happened to subdivide. For a typical upholstered chair cushion, your retopologised mesh will be a fraction of the polygon count of the sculpt, low enough to load on a phone without stalling.
UV unwrapping comes next. Lay the retopologised mesh flat so you can project texture data onto it without stretching.
Baking transfers the detail from the high-poly sculpt to two maps that sit on the low-poly mesh: a normal map (which encodes the surface direction of every high-poly face, making the low-poly mesh appear to have the sculpted detail) and an ambient occlusion map (which captures the soft shadowing in folds and corners). The result looks almost identical to the full sculpt in a viewer, at a fraction of the file size.
For what happens after baking, preparing a 3D model for the web covers glTF export, Draco compression, and polygon budgets for browsers and AR.
Five things that go wrong, and how to fix them
Too many polygons in the final file. The fix is baking, not reducing subdivision. If you try to reduce a very high-polygon sculpt by decimating it, you'll get an ugly mesh. Retopologise and bake instead.
Lost real-world proportions. Sculpting tools make it easy to push geometry past the real dimensions of the product. Check your mesh against reference dimensions at the end of each session, not just at the start.
Lumpy surfaces on rigid parts. If someone sculpted the frame of a chair or the shell of a suitcase rather than leaving it in CAD, the result will have subtle waviness that reads as a manufacturing defect in a product viewer. Rigid parts belong in CAD. If the damage is done, retopologise against your original CAD dimensions and use the sculpt only for the normal map bake.
Baked-in lighting. Ambient occlusion is useful. Directional light baked into an albedo texture is not. It looks correct from one angle and wrong from every other. Bake AO separately; never bake a specific light source into your colour map.
Fabric that doesn't match the real product. A sculpted cotton weave looks nothing like a velvet, and neither looks like a performance mesh. If the fabric has a distinct texture, use a photographic or procedural texture map rather than sculpting the weave geometry. The sculpt handles the macro folds; the texture map handles the surface character.
For broader model quality issues, why 3D models look poor and how to fix them covers the most common problems brands run into before and after this stage.
The designer with the carry-on file wasn't doing anything wrong in the sculpting app. She was doing everything wrong about when to stop, and nobody had explained that the sculpt is not the deliverable, the baked low-poly mesh is. Vfs Get that distinction right and the rest of the pipeline follows.
If you'd rather skip the modelling pipeline entirely, get in touch with Thridify to see how its no-code platform turns your product models into 3D and AR experiences.
Sources
Have questions or ready to get started?
Get in touch with Thridify