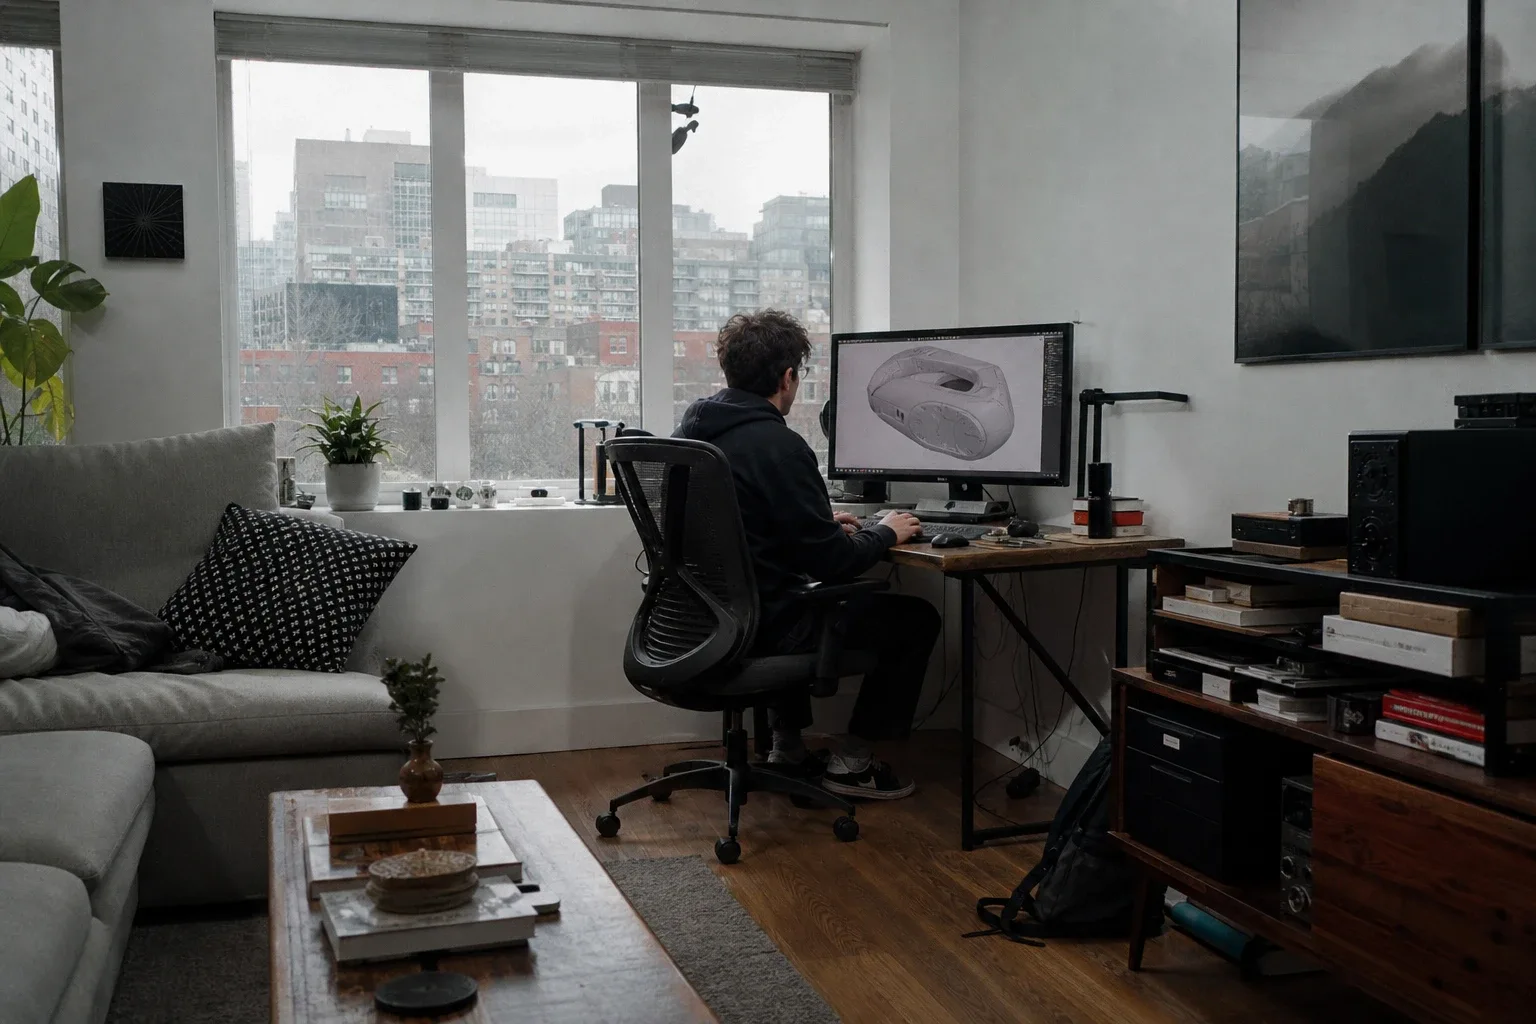
How to Photograph a Product for 3D Models: A Capture Protocol for Hard-to-Picture Goods
The scan came back looking almost right. The upholstered seat was clean, the back legs were fine, and the arm had reconstructed perfectly. Then there was the front left foot: a chrome cylinder that had caught the photographer's window light, mirrored it back into the lens, and convinced the software it was looking at a curved wall. The mesh had filled it in as a smooth, vaguely organic blob. The sofa was unsellable.
That foot took twenty minutes to shoot and about four hours to fix in post. Knowing, before the shoot, how to photograph for 3D models, and knowing which surfaces will defeat photogrammetry entirely, would have saved both.
Decide First: Photogrammetry or Reference Photography
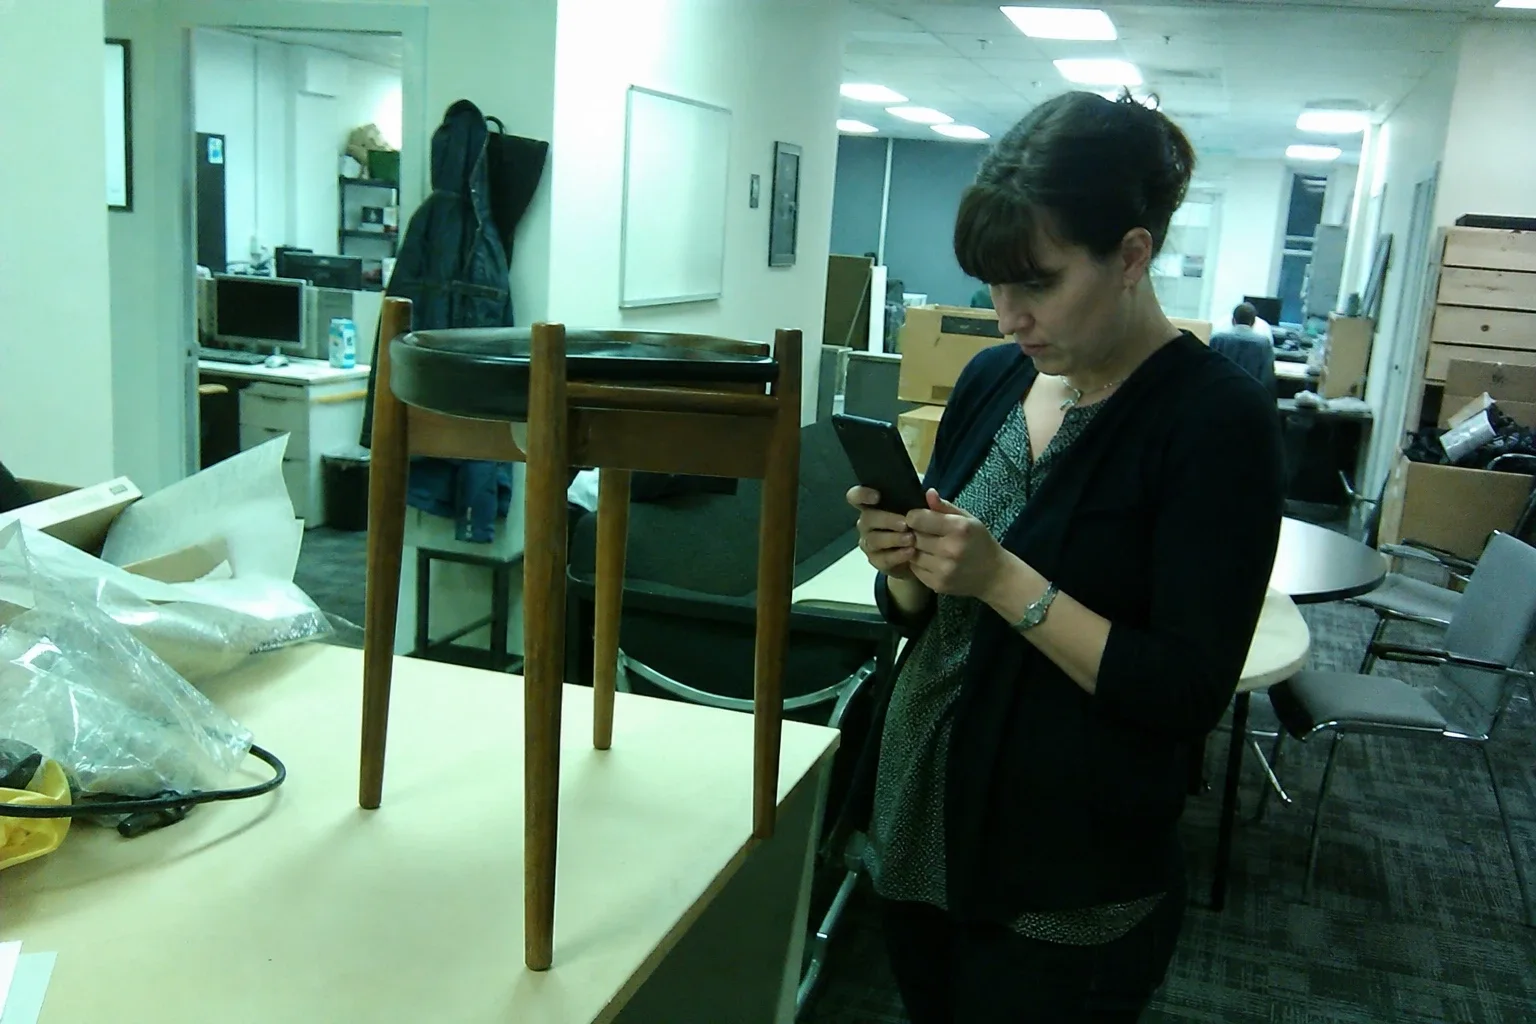
Photogrammetry works by finding the same point in two or more photos taken from slightly different angles, then triangulating its position in space. For that to work, each surface needs visible, consistent texture the software can lock onto.
Run this quick test on your product before you pick up the phone:
Photogrammetry works well on matte, textured, mid-toned surfaces: upholstery fabric, raw wood, laminate with grain, painted MDF, canvas luggage shell, leather with visible pore texture.
Photogrammetry struggles or fails on: high-gloss plastic, polished chrome or brass hardware, transparent or tinted acrylic, plain white or off-white panels, and any surface that reflects the room back at the camera. The software reads reflections as geometry and invents surfaces that aren't there.
The honest answer for a configurable product with both types of surface (say, a chair with a fabric seat and chrome legs) is that you are probably shooting two things at once. The upholstery might reconstruct well enough to texture a model. The chrome legs should be photographed as reference for a modeller who will build them by hand. Trying to run the whole chair through photogrammetry is how you end up with that melted foot.
Prerequisites: Light, Backdrop, Turntable and Camera Settings
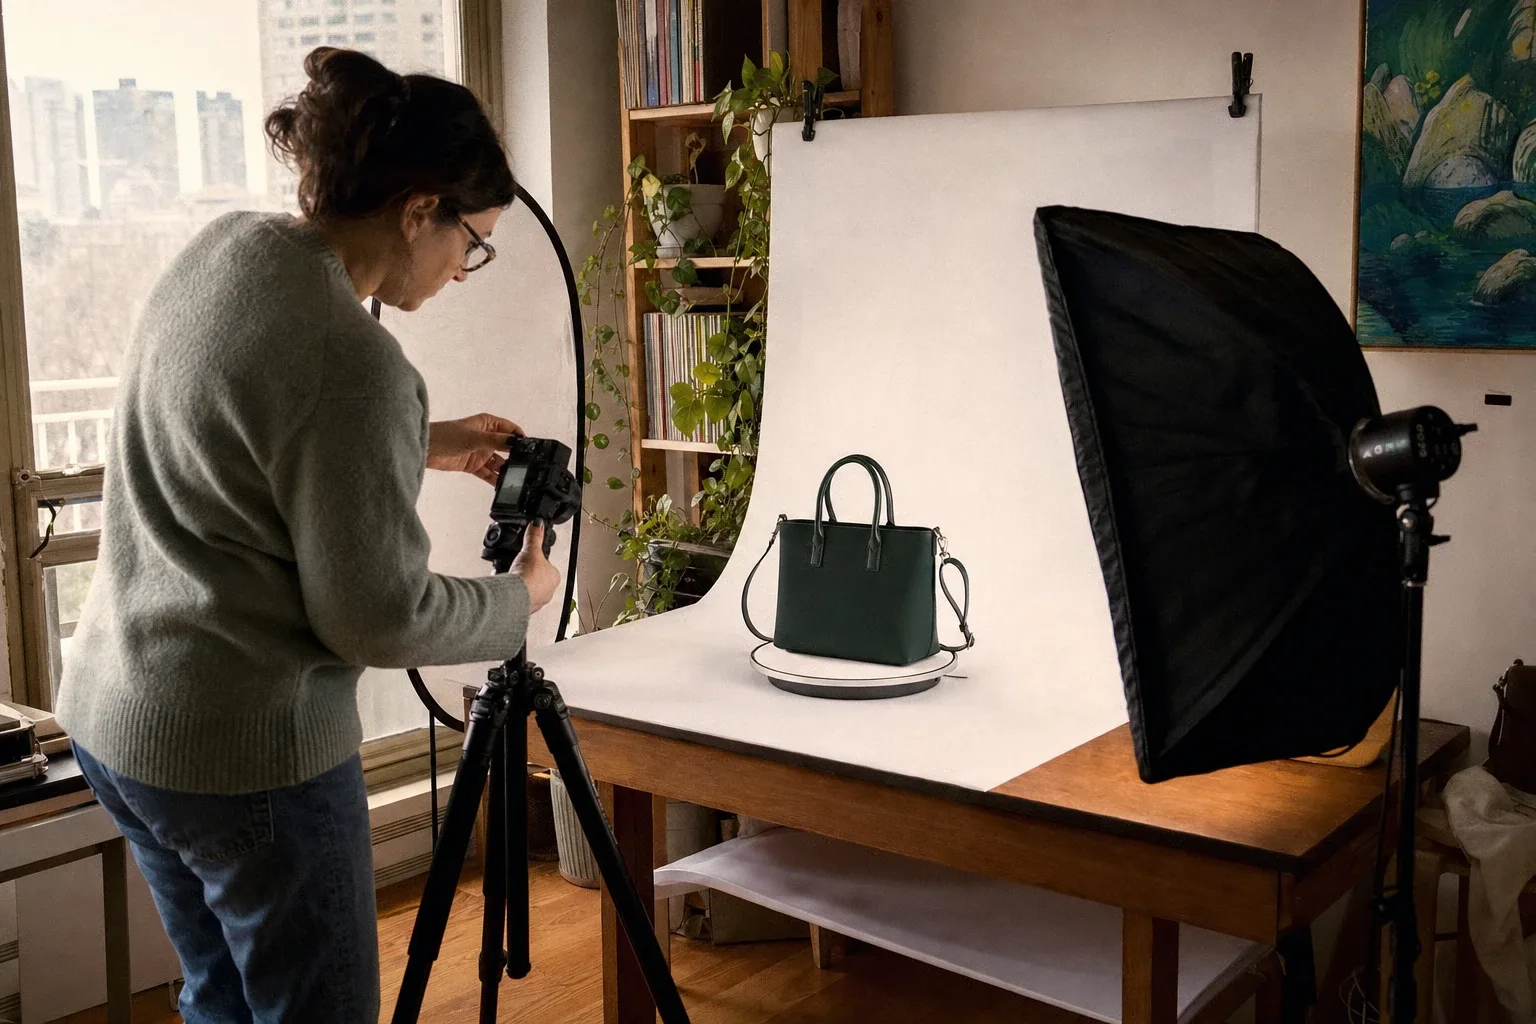
You do not need a studio. You need diffuse, even light with no hard shadows and no specular hot spots.
Light: Overcast daylight through a north-facing window is excellent. If you are shooting indoors with artificial light, use two softboxes or two large white bounce cards on either side of the object, roughly 45 degrees off axis. No flash. Flash creates a moving shadow relative to the camera position, and that inconsistency breaks the reconstruction.
Backdrop: Matte neutral grey or mid-tone paper or fabric. Avoid white, it blows out and gives the software nothing to anchor on at the edges of the object. Avoid textured walls; the software will try to reconstruct those too.
Camera settings: Fixed exposure, fixed white balance, fixed focus. Turn off any auto-correction your phone applies. On most phones, tap to set exposure and focus on the object, then lock both before you move. Shoot the entire set without changing these settings.
Turntable: For objects under about 60 cm, a manual lazy Susan from a kitchen supply store works. Mark 12 or 24 equal positions with tape so your angular spacing is consistent. For larger objects like a full suitcase or a chair, you walk around the object instead.
Scale reference: Place a small ruler or a known-dimension block in at least one shot. This lets the modeller or the software set real-world scale correctly.
The Shoot, Step by Step
- Place the object on your backdrop with your lighting set. Take one test shot and check it on a laptop screen, not your phone screen. Look for hot spots, shadow edges and background detail. Fix those before you shoot the set.
- For a small object (under 30 cm), plan for roughly 20 to 30 photos as a baseline. Larger or more detailed objects need more: a full dining chair or a hard-shell suitcase typically needs 60 to 100, sometimes more. These are averages; complex geometry always needs additional detail shots.
- Shoot in three horizontal rings: one at low angle (roughly 20 degrees above the object's midpoint), one at eye level, one from above at roughly 60 degrees. Each ring should overlap adjacent frames substantially, more than feels necessary.
- Keep your distance to the object consistent within each ring. Move yourself or the turntable in small, equal steps.
- After the three rings, add dedicated detail shots of anything that matters: a handle, a joint, a stitching pattern, a zipper pull. Move closer for these. They will not be used to build the overall mesh but they give a modeller the reference to get the detail right.
- Photograph all four sides of the base if the object has one. Photogrammetry software and modellers both need to see what sits on the floor.
What Can Go Wrong, and How to Spot It Before Processing
Before you hand off the set, spend ten minutes reviewing every frame on a screen larger than your phone.
Reflections: Any frame where you can see the window, a softbox, or yourself in the object's surface is a problem frame. Flag it. If it is the only frame covering that angle, reshoot.
Moving shadows: If the light shifted between rings (a cloud passed, you bumped a lamp) the shadows will be in different positions relative to the object. The software reads this as the object having moved. Check that the shadow pattern is consistent across the set.
Blur: Zoom into a corner of the object in each frame. Any motion blur or focus drift means that frame will contribute noise, not geometry.
Textureless surfaces: A plain white panel, a gloss plastic face, a chrome rail. If you cannot see any surface detail at all in the photo, the software cannot either. Note these surfaces and flag them for hand-modelling.
Background drift: If anything in the background moved between shots (a door opened, someone walked past) the software may try to reconstruct that movement as geometry. Reshoot those frames.
Tools like RealityCapture are powerful: they process large photo sets quickly with GPU acceleration and produce accurate reconstructions. Realitycaptureai Layercraftlog But they process what you give them. Bad input produces bad output, and no amount of processing fixes a reflection baked into the source image.
From Photo Set to a Model a Shopper Can Use
A raw photogrammetry mesh is not a product page asset. It is dense, often dirty, and far too heavy to load in a browser or an AR viewer. The mesh needs cleanup (removing floating geometry, filling holes, fixing the areas where reflective surfaces confused the software) before it is usable.
If you are handing the set to a modeller rather than running it through photogrammetry yourself, your job is simpler: deliver the organised photo set, the scale reference, and clear notes on which surfaces need to be built from scratch. A good modeller uses the photos as a measured drawing, not as raw material. If you are choosing a modelling service and are not sure what to ask for, the checklist for choosing a 3D modelling service covers the questions worth asking before you commit.
Once you have a clean model, there is a separate set of decisions about file format, polygon budget, texture compression and how the asset loads on a product page. The guide to preparing a 3D model for the web covers glTF, Draco compression, KTX2 textures and poly budgets in detail. And if the model looks off even after cleanup, why 3D models look poor and how to fix them is worth reading before you assume the problem is in the photos.
The photo set is the foundation. A careful shoot (right material assessment, consistent light, disciplined overlap, honest flagging of surfaces that will not reconstruct) is the difference between a model that sells and one that goes back for rework.
When the model is ready, Thridify's no-code 3D and AR platform turns it into a product page experience a shopper can rotate, configure and place in their own room, without writing a line of code.
Have questions or ready to get started?
Get in touch with Thridify