How to Add a 3D Product Configurator to WooCommerce
Open your best-selling variable product in WooCommerce and count the dropdowns. Fabric. Size. Base finish. Maybe a hardware option. Now look at the gallery above them: one photograph, of one combination, probably the one you happened to have in the showroom the week of the shoot.
Every dropdown below that photograph is asking the customer to picture something you have not shown them. Most will guess. Some of those guesses come back as returns, and on made-to-order goods a return is not a restock — it is a write-off.
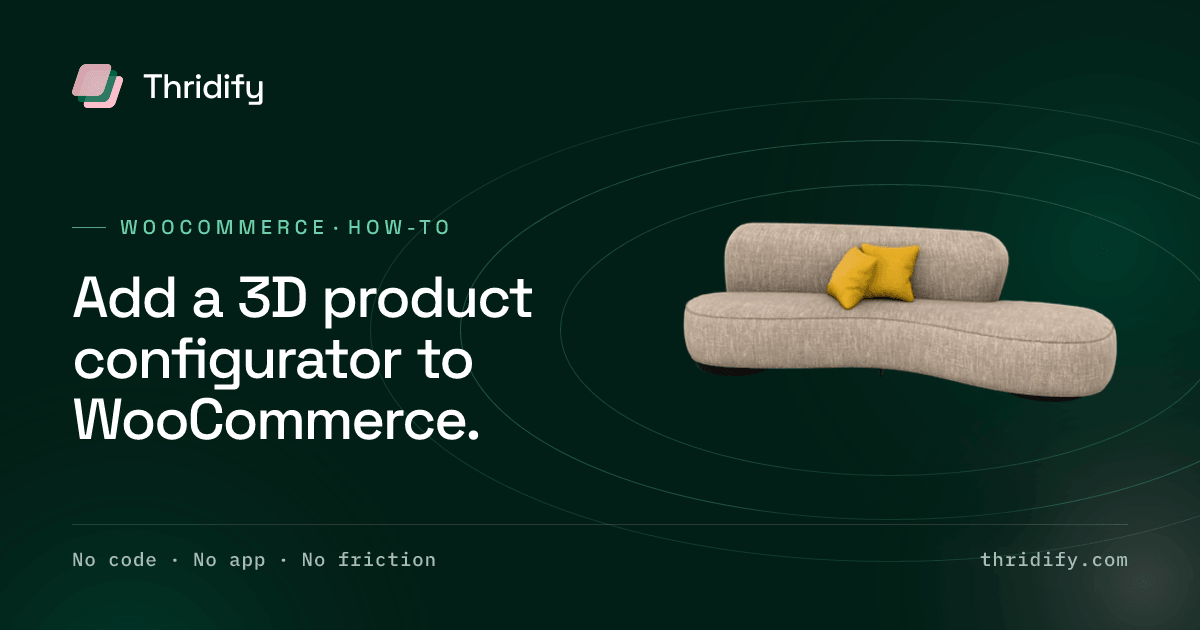
This guide walks through putting a real 3D product configurator on a WooCommerce product page: what to prepare, how the pieces connect, how variants map, and what to test before you point traffic at it.
What you need before you start
Three things, and only one of them is technical.
A 3D model of the product. Not a render — an actual model, in glTF/GLB format. If the product was designed in CAD, the geometry already exists somewhere in your business and is usually the fastest starting point. If it was not, a modelling service builds one from photographs, dimensions and finish references. Either way, make sure you end up owning the file.
Your option list, written down. Every finish, size, module and hardware choice, and which combinations are actually orderable. This matters more than people expect. A configurator that lets a customer build something your factory cannot make is worse than no configurator, and the rules live in your head or in a spreadsheet right now.
Admin access to WordPress. That is the whole technical prerequisite. You do not need a developer for the plugin route.
Step 1 — Build and publish the experience
Configuration is set up outside WooCommerce, in the Thridify Studio, and then pulled into the product page. That separation is deliberate: your merchandising team can add a new colourway without anyone touching the theme.
In the Studio you upload the model, define the option groups (finish, size, module), attach materials to each option, and set the price rule each option carries. Publish it, and the experience gets a stable ID. That ID is the only thing WooCommerce needs to know about.
A word on scope: build one product first. The most common way these projects die is a decision to model the whole catalogue before anything ships. Pick the SKU with the most options and the most hesitation around it, get it live, then batch the rest against real numbers.
Step 2 — Install the plugin
Install the Thridify plugin from your WordPress admin and enter the API key from your Thridify account. This drops the JS SDK onto your storefront and registers the embed. Nothing renders yet — the plugin is the delivery mechanism, not the content.
If you would rather not install another plugin, the alternative is a small embed snippet placed on the product template. Functionally identical; the plugin route just saves you editing template files.
Step 3 — Put it on the product page
Map the published experience to the WooCommerce product by ID. Where the experience appears depends on your theme:
- In the gallery, as one of the media items shoppers already swipe through. This is almost always the right answer.
- Below the gallery, in its own section, if your theme's gallery is hostile to custom media.
- In a tab, which is where 3D goes to die. A shopper who has to find the feature will not find it.
That last point is not a stylistic preference. A configurator's whole job is to be present at the moment of doubt, and the moment of doubt is while the customer is looking at the picture. Placing it two clicks away preserves the exact gap you installed it to close.
Step 4 — Map options to WooCommerce variants
This is the step that gets skipped, and it is the one that decides whether the thing pays for itself.
A configurator that changes the picture but not the cart is a toy. Each option in the experience should map to the corresponding WooCommerce variation, so that when a shopper configures a walnut frame in the 180 cm size, that is the variation that lands in their basket at the right price. Where your catalogue uses variations properly, this is a mapping exercise. Where it does not — where sizes are separate products, or finishes live in the product title — expect to tidy the data model first. That tidying is worth doing regardless.
For made-to-order products with more combinations than WooCommerce variations can sanely hold, the configuration travels as structured line-item data instead, which is also what your production team needs at the other end.
Step 5 — Turn on AR, and understand what it does
App-free AR is one setting, but it is worth knowing what happens when a customer taps it, because it explains most of the things that can go wrong.
On Android the model is handed to Google's Scene Viewer, which reads glTF/GLB. On iOS it is handed to AR Quick Look, which reads USDZ. Both ship with the operating system, which is precisely why nothing has to be installed — and why you need the model in two formats, generated from one source so they cannot drift apart.
The product must also be modelled at true dimensions. AR places objects at real-world scale, so a model built at "roughly right" proportions does not look slightly off in AR — it looks wrong against a real wall, and the customer trusts nothing you show them afterwards.
Step 6 — Test the things that actually break
Desktop Chrome on office wifi will tell you nothing useful. Test these:
- A real phone on mobile data. The AR tap is the worst-case network moment in the whole session. If your model is tens of megabytes, this is where you find out.
- Both platforms. iOS and Android take different paths to AR; a working Android handoff proves nothing about iOS.
- The variant switch. Change three options quickly and confirm the price, the model and the cart all agree.
- Layout on a narrow screen. Most storefront traffic is mobile, and 3D viewers are the kind of element that quietly overlaps a sticky add-to-cart bar.
- Layout with AR unsupported. On a desktop, or an older Android, the experience should stay an interactive viewer rather than showing a dead button.
Why the page weight matters more than the visuals
If a 3D product page feels broken on a phone, the cause is almost never the renderer. It is asset size.
Two compression standards do most of the work here. Draco compresses the geometry. KTX2 with Basis Universal supercompression compresses the textures, and — importantly — stays compressed in GPU memory rather than being expanded on arrival, which is what keeps mid-range phones from stalling. The difference between a product that arrives in a couple of megabytes and one that arrives in forty is almost entirely whether these were applied.
Ask about this before you buy anything. "How many megabytes is a loaded product page?" is a more useful question than any feature list.
What to expect afterwards
Measure the product page you changed, against itself, before and after. The signals worth watching are engagement on the page, add-to-cart rate on the configured product, and — on a longer lag — return rate for that SKU.
Returns are where the economics usually sit. The National Retail Federation and Happy Returns put US merchandise returns at nearly $890 billion for 2025, and the share driven by "not what I expected" is precisely the share that showing the real thing can move.
One product, one page, measured honestly, is a better basis for the next decision than any vendor's case study — including ours.
Related reading
- 3D product configurator — what it does and how to evaluate one
- Thridify for WooCommerce — the integration in detail
- AR product viewer — how app-free AR works underneath
- What a 3D configurator costs — the six drivers behind the number